A Deliciously Satisfying Meal in Every Bite
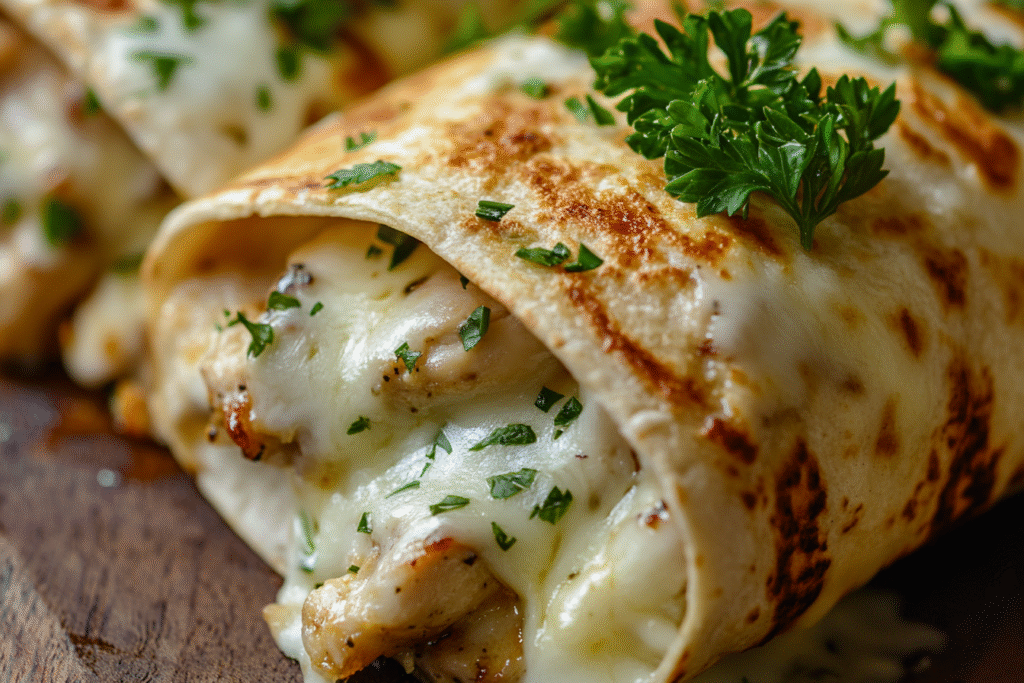
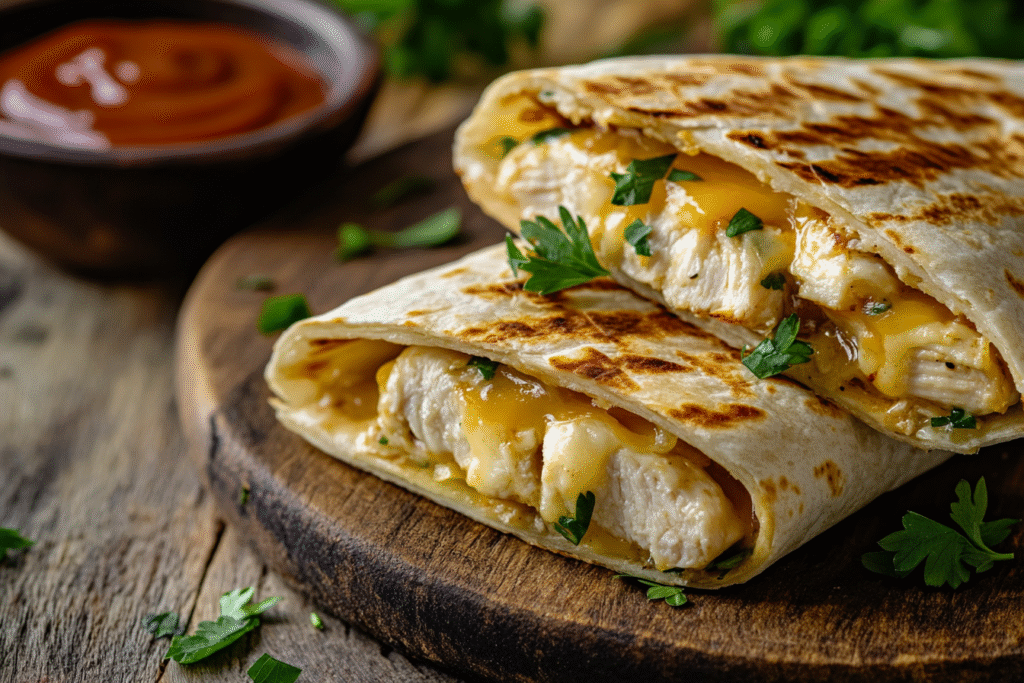
Cheesy Garlic Chicken Wraps bring together the comforting flavors of juicy, seasoned chicken, creamy melted cheese, and the bold punch of garlic, all encased in a soft, warm tortilla. This dish is incredibly versatile—it can be a hearty lunch, a quick dinner, or even a satisfying party snack. What makes this recipe stand out is the balance of textures: tender chicken, gooey cheese, and the subtle crispness of the lightly toasted wrap. These wraps are also wonderfully adaptable, allowing for endless customization to suit personal tastes and dietary needs.
In this detailed guide, we’ll explore each component carefully, ensuring you can create a wrap that’s bursting with flavor and perfectly satisfying. Whether you’re a beginner cook or a seasoned kitchen pro, you’ll find everything you need here—from choosing the right ingredients to troubleshooting common challenges.
Choosing the Right Chicken: Breast, Thighs, or Rotisserie?
The core of a great chicken wrap is, unsurprisingly, the chicken. The type of chicken you use can drastically change the texture and flavor profile of the final dish.
- Chicken Breast: Lean, tender, and quick-cooking. It’s easy to slice and gives a clean bite, but it can dry out if overcooked.
- Chicken Thighs: Juicier and more forgiving. Thighs add a deeper flavor and stay moist even if slightly overcooked.
- Rotisserie Chicken: Perfect for a time-saving shortcut. It’s already cooked and seasoned, adding an extra layer of flavor with minimal effort.
Tip: If you want to marinate the chicken, using raw chicken breast or thighs will let you control the seasoning fully. For busy nights, rotisserie chicken is a worthy substitute.
Selecting the Perfect Cheese for Maximum Melty Goodness
The cheese is a major player here—it’s what gives these wraps their signature gooey, indulgent texture.
- Mozzarella: Provides excellent melt and stretch, but has a mild flavor. Pair it with a sharp cheese for balance.
- Cheddar: Adds a tangy, savory bite and melts beautifully.
- Monterey Jack: Buttery, melts easily, and complements garlic well.
- Provolone: A smooth, slightly smoky option that pairs beautifully with chicken.
Cheese Tip: Combining two cheeses, like mozzarella and sharp cheddar, gives the best of both worlds—stretchy melt with bold flavor.
Garlic: Fresh vs. Powder and How to Maximize Flavor
Garlic is the flavor backbone of this dish. You can use:
- Fresh Garlic: Offers robust, slightly spicy flavor when sautéed. Best if finely minced or grated to prevent large, overpowering bites.
- Garlic Powder: Provides a more mellow, evenly distributed garlic flavor.
- Roasted Garlic: Adds a sweet, complex layer with no sharpness—ideal if you want a milder garlic presence.
Pro Tip: For maximum flavor, sauté fresh garlic in butter to mellow its sharpness while infusing the oil that will coat the chicken.
Tortilla Choices and the Importance of Proper Warming
The wrap’s texture can make or break this dish. Soft flour tortillas are the most common and versatile option, but here are some alternatives:
- Flour Tortillas: Classic choice, flexible, and holds up well to fillings.
- Whole Wheat Tortillas: Adds a nutty flavor and more fiber.
- Spinach or Tomato Wraps: Great for adding color and a subtle taste variation.
Tortilla Tip: Always warm your tortillas before wrapping to make them pliable and prevent tearing. You can briefly toast them in a dry pan or microwave them covered with a damp paper towel for 10-15 seconds.
Equipment Essentials for Perfect Chicken Wraps
You don’t need fancy equipment to make Cheesy Garlic Chicken Wraps, but having the right tools will streamline the process:
- Non-stick Skillet or Grill Pan: Ideal for cooking the chicken and toasting the wrap.
- Sharp Chef’s Knife: Ensures clean slices of chicken and even chopping of other ingredients.
- Tongs: Handy for flipping chicken and wraps without tearing them.
- Grater: For freshly shredding cheese, which melts better than pre-shredded.
Optional but helpful:
- Panini Press: Perfect for sealing the wrap and adding a crispy exterior.
Flavor Boosters and Add-Ins to Elevate Your Wraps
While the base recipe is delicious on its own, adding a few extra ingredients can take your wraps to the next level:
- Fresh Herbs: Chopped parsley, cilantro, or basil for brightness.
- Spicy Kick: Add crushed red pepper flakes, jalapeños, or a drizzle of hot sauce.
- Crunch Factor: Shredded lettuce, crispy bacon, or sautéed onions for textural contrast.
- Creamy Elements: A smear of garlic aioli, ranch dressing, or guacamole inside the wrap can add moisture and depth.
Common Pitfalls and Troubleshooting Tips
Even a simple recipe like this can have hiccups. Here’s how to avoid common mistakes:
- Dry Chicken: Don’t overcook. Chicken should reach 165°F internally and rest before slicing to retain juices.
- Soggy Wraps: Avoid overfilling with sauces and wet ingredients. Toast the wrap after filling to create a protective barrier.
- Tearing Tortillas: Always warm tortillas and don’t overstuff them.
- Uneven Melting: Shred your own cheese for better meltability and distribute evenly.
Cheesy Garlic Chicken Wraps Recipe
Ingredients
For the Chicken
- 2 boneless, skinless chicken breasts (or thighs)
- 1 tablespoon olive oil
- 1 tablespoon butter
- 3 cloves garlic, minced (or 1 teaspoon garlic powder)
- ½ teaspoon paprika
- ½ teaspoon dried Italian herbs (optional)
- Salt and black pepper, to taste
For the Wraps
- 4 large flour tortillas
- 1 cup shredded mozzarella cheese
- 1 cup shredded sharp cheddar cheese
- ¼ cup fresh parsley, chopped (optional)
- 2 tablespoons garlic butter (or regular butter)
Optional Add-Ins
- Fresh spinach leaves
- Cooked bacon strips
- Sliced jalapeños
- Ranch or garlic aioli for spreading
Step-by-Step Instructions
1. Prepare the Chicken
- Season both sides of the chicken breasts with salt, pepper, paprika, and Italian herbs.
- Heat olive oil and butter in a large skillet over medium heat.
- Add minced garlic and sauté for 30-60 seconds until fragrant, stirring constantly to avoid burning.
- Place the chicken in the skillet and cook for 5-6 minutes per side, until golden brown and cooked through (internal temperature should reach 165°F).
- Transfer to a cutting board and let rest for 5 minutes before slicing into thin strips.
2. Warm the Tortillas
- Heat each tortilla in a dry pan over medium heat for about 20 seconds per side, or microwave them covered with a damp paper towel for 10-15 seconds to soften.
3. Assemble the Wraps
- Spread a thin layer of garlic butter (or regular butter) on one side of each tortilla.
- On the unbuttered side, layer shredded mozzarella, cheddar, and sliced chicken.
- Add optional fillings like spinach, bacon, jalapeños, or a drizzle of ranch if desired.
- Sprinkle with fresh parsley for a herby finish.
4. Fold and Toast
- Fold the bottom of the tortilla up over the filling, then fold in the sides and roll tightly.
- Place the wrap seam-side down in a clean, heated skillet over medium heat.
- Cook for 2-3 minutes per side until golden and crispy, pressing gently with a spatula to help seal.
5. Serve and Enjoy
- Slice each wrap in half and serve hot. Consider pairing with a side salad, crispy fries, or a creamy dipping sauce like ranch or garlic aioli.
Serving Suggestions
- Serve with a crisp cucumber and tomato salad to balance the richness.
- Pair with seasoned potato wedges or sweet potato fries.
- For a lighter option, serve alongside a simple mixed greens salad with vinaigrette.
Storage and Reheating
- Storage: Wrap leftovers tightly in foil or plastic wrap and refrigerate for up to 3 days.
- Reheating: Reheat wraps in a dry skillet over medium heat for 3-4 minutes per side to maintain crispness. Microwaving is faster but may result in a softer texture.
Recipe Variations
- Buffalo Chicken Wrap: Toss chicken in buffalo sauce and add blue cheese crumbles.
- BBQ Chicken Wrap: Replace garlic butter with BBQ sauce and use Monterey Jack cheese.
- Vegetarian Wrap: Substitute chicken with roasted vegetables and chickpeas for a hearty meat-free option.
Troubleshooting Common Issues
| Problem | Solution |
|---|---|
| Chicken is dry | Ensure proper cooking time; rest before slicing |
| Wrap is soggy | Avoid overfilling; toast the wrap to seal it |
| Cheese isn’t melting | Shred your own cheese; toast wraps properly |
| Tortilla tears | Warm tortillas thoroughly before wrapping |
FAQ
Can I make these wraps ahead of time?
Yes, you can assemble them and refrigerate. Toast just before serving to ensure they stay crispy.
Can I freeze Cheesy Garlic Chicken Wraps?
Yes, but the texture of the tortilla may soften upon thawing. Wrap tightly in foil and freeze for up to 2 months. Reheat in a skillet or oven for best results.
What’s the best cheese substitute for dairy-free diets?
Use a plant-based cheese that melts well, such as cashew-based shreds or almond cheese. Also, sauté garlic in olive oil instead of butter.