Hawaiian garlic shrimp is a beloved, simple, and flavor-packed dish that originated from the famous shrimp trucks on the North Shore of Oahu, Hawaii. Known for its garlicky butter sauce, golden crispy shrimp, and tender, juicy texture, this dish is a staple of Hawaiian comfort food and an irresistible combination of bold flavors and satisfying simplicity.
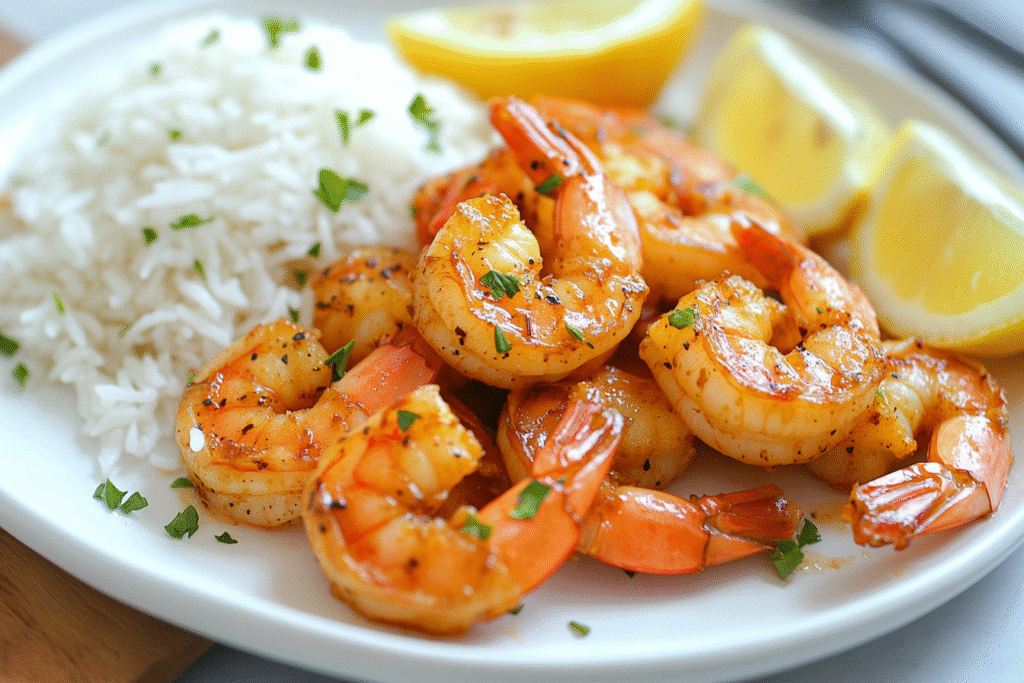
The beauty of Hawaiian garlic shrimp lies in its straightforward ingredients and quick cooking time. The shrimp are typically sautéed in generous amounts of butter, oil, and finely minced garlic until tender and slightly crisp, then served with steamed rice and lemon wedges to balance the richness. The garlicky sauce clings to the shrimp and rice, creating a plate that’s as aromatic as it is delicious.
In this step-by-step Hawaiian Garlic Shrimp Recipe, I’ll walk you through choosing the right shrimp, nailing the crispy coating, troubleshooting common issues, and adding optional sides to recreate this iconic island dish at home.

Why Hawaiian Garlic Shrimp Can Go Wrong: Common Pitfalls and How to Avoid Them
Despite the recipe’s simplicity, a few mistakes can quickly diminish the signature texture and flavor.
Common Mistakes:
- Rubbery shrimp: Happens when shrimp are overcooked.
- Bitter garlic: Burnt garlic can ruin the sauce’s flavor.
- Soggy shrimp: Caused by too much moisture or an improperly heated pan.
- Lack of flavor adhesion: Occurs if shrimp aren’t coated properly or if the sauce is too thin.
Keys to Success:
- Coat shrimp lightly in flour to help the garlic sauce adhere and create a golden crust.
- Use lots of minced garlic—the garlic should be fragrant but never browned or burnt.
- Cook shrimp quickly over medium-high heat to get color without overcooking.
- Serve immediately to enjoy the shrimp at their crispiest.
Choosing the Best Ingredients for Hawaiian Garlic Shrimp
Shrimp
- Shell-on or peeled shrimp can be used, but traditional shrimp truck style keeps the shells on to lock in flavor.
- Large shrimp (16-20 count per pound) are ideal.
- Fresh or frozen shrimp are both acceptable; pat them dry before cooking.
Garlic
- Use fresh garlic, finely minced or crushed.
- Garlic should be the star flavor—avoid substitutes like garlic powder.
Flour Coating
- All-purpose flour helps shrimp develop a light golden crust.
- Optional: Add paprika or cayenne to the flour for extra flavor and color.
Sauce Base
- Butter and a neutral oil (like vegetable or canola) are essential for flavor and heat stability.
- Optional: A splash of lemon juice or a sprinkle of parsley for freshness.
Essential Equipment
- Large skillet or cast-iron pan: Needed for quick, even searing.
- Tongs or spatula: For flipping shrimp quickly.
- Microplane or garlic press: Makes mincing large amounts of garlic easier.
If you enjoy shrimp dishes, a good-quality cast-iron pan is ideal for building a quick crust.
Smart Preparation Tips
Preparation Timeline:
- Active prep: ~15 minutes
- Cooking: ~10 minutes
Prep Checklist:
- Peel and devein shrimp (or leave shells on for traditional style).
- Mince garlic thoroughly.
- Measure out flour and seasonings ahead for seamless cooking.
Flavor Variations and Customizations
- Spicy Version: Add chili flakes or cayenne to the flour or sauce.
- Herbaceous: Add fresh parsley or a squeeze of lemon for brightness.
- Coconut Twist: Serve with coconut rice for a tropical flair.
- Garlic-Lemon Sauce: Add extra lemon juice and zest for a citrusy punch.
Common Mistakes and How to Fix Them
- Garlic burns: Lower the heat and stir continuously; burnt garlic turns bitter fast.
- Rubbery shrimp: Cook just until the shrimp turn pink and opaque.
- Lack of flavor: Be generous with garlic and butter; this dish is all about boldness.
- Shrimp sticking to pan: Use enough oil and ensure pan is hot before adding shrimp.
Storage, Freezing, and Reheating Tips
- Storage: Best served fresh, but leftovers can be stored in the fridge for up to 2 days.
- Freezing: Not recommended; reheated shrimp lose texture and garlic flavor dulls.
- Reheating: Reheat gently in a skillet over low heat. Avoid microwaving to preserve texture.
Hawaiian Garlic Shrimp Recipe
Ingredients
For the Shrimp:
- 1 pound large shrimp (shell-on or peeled), patted dry
- ½ cup all-purpose flour
- 1 teaspoon paprika
- ½ teaspoon salt
- ½ teaspoon black pepper
- 2 tablespoons vegetable oil
- 4 tablespoons unsalted butter
- 10 cloves garlic, finely minced
For Serving:
- Steamed white rice
- Lemon wedges
- Fresh parsley or chopped scallions (optional)
Step-by-Step Instructions
Step 1: Prepare the Shrimp
- In a bowl, combine flour, paprika, salt, and pepper.
- Toss shrimp in flour mixture to coat lightly and evenly. Shake off excess flour.
Step 2: Sear the Shrimp
- Heat vegetable oil in a large skillet over medium-high heat.
- Add shrimp in a single layer (work in batches if needed).
- Sear shrimp for 2-3 minutes per side until golden and just cooked through.
- Remove shrimp from skillet and set aside.
Step 3: Make the Garlic Butter Sauce
- Lower heat to medium.
- In the same skillet, add butter and minced garlic.
- Sauté garlic for 1-2 minutes, stirring constantly until fragrant but not browned.
Step 4: Finish the Dish
- Return shrimp to the skillet and toss to coat in garlic butter sauce.
- Cook for 1 more minute to warm through.
- Remove from heat and serve immediately.
Step 5: Serve
- Plate shrimp with steamed white rice.
- Garnish with lemon wedges and optional parsley or scallions.
Serving Suggestions
- With Steamed White Rice: Classic Hawaiian shrimp truck style.
- With Coconut Rice: Adds a tropical twist.
- With Fresh Salad: Balances the rich garlic butter.
- With Grilled Pineapple: Offers sweet contrast to the savory shrimp.
Hawaiian Garlic Shrimp Variations: Classic vs. Spicy vs. Lemon-Herb
| Feature | Classic Garlic Shrimp | Spicy Garlic Shrimp | Lemon-Herb Garlic Shrimp |
|---|---|---|---|
| Base Flavor | Bold garlic and butter | Garlic, butter, chili heat | Garlic, butter, fresh lemon zest |
| Key Additions | Flour coating, paprika | Cayenne, red pepper flakes | Lemon juice, fresh parsley |
| Serving Style | With steamed rice | With coconut rice | With mixed greens |
FAQs and Troubleshooting
Can I leave the shrimp shells on?
Yes, traditional Hawaiian shrimp trucks often leave the shells on for extra flavor.
Can I make this less buttery?
You can reduce butter slightly, but the butter-garlic sauce is essential to the dish’s flavor.
How do I keep the garlic from burning?
Lower the heat after searing shrimp and stir the garlic constantly.
Can I make this gluten-free?
Yes, use a gluten-free flour blend or cornstarch for coating.
Can I make this ahead?
It’s best served immediately for maximum crispness and flavor.
Final Thoughts
Hawaiian garlic shrimp is a simple, bold, and utterly satisfying dish that captures the flavors of the islands in just a few quick steps. With its crispy shrimp, rich garlic butter sauce, and tender rice, this dish is a crowd-pleaser that feels special but is surprisingly easy to make at home.
This detailed recipe ensures you’ll create perfectly cooked, flavor-packed shrimp with a golden crust and a sauce that clings to every bite. Whether you serve it as a weeknight treat or for a laid-back gathering, Hawaiian garlic shrimp will bring a little taste of the North Shore right to your table.


