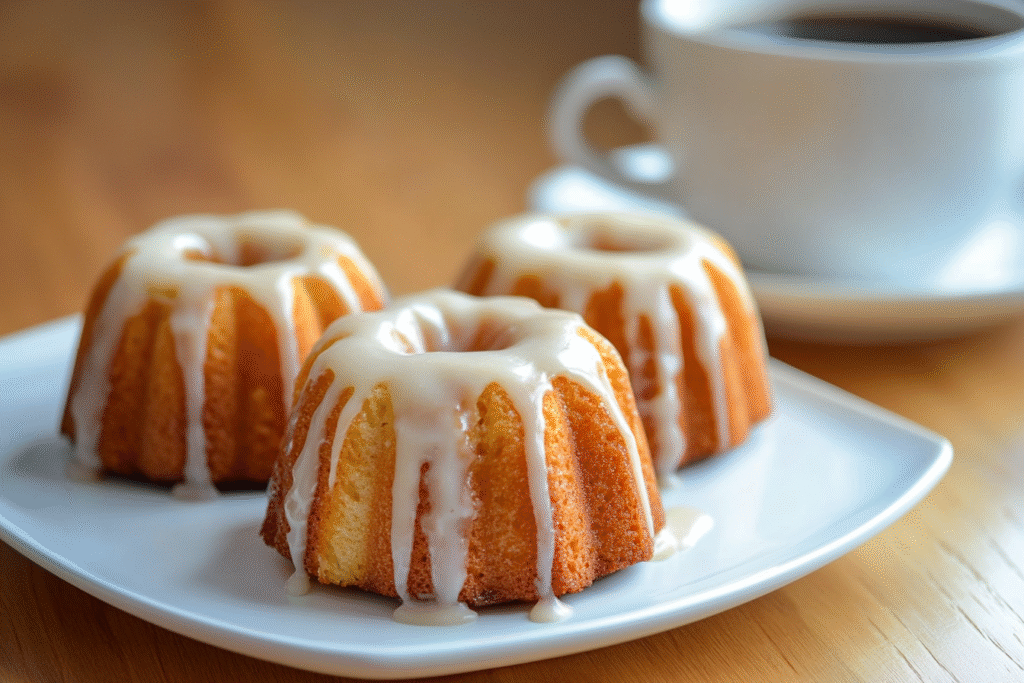
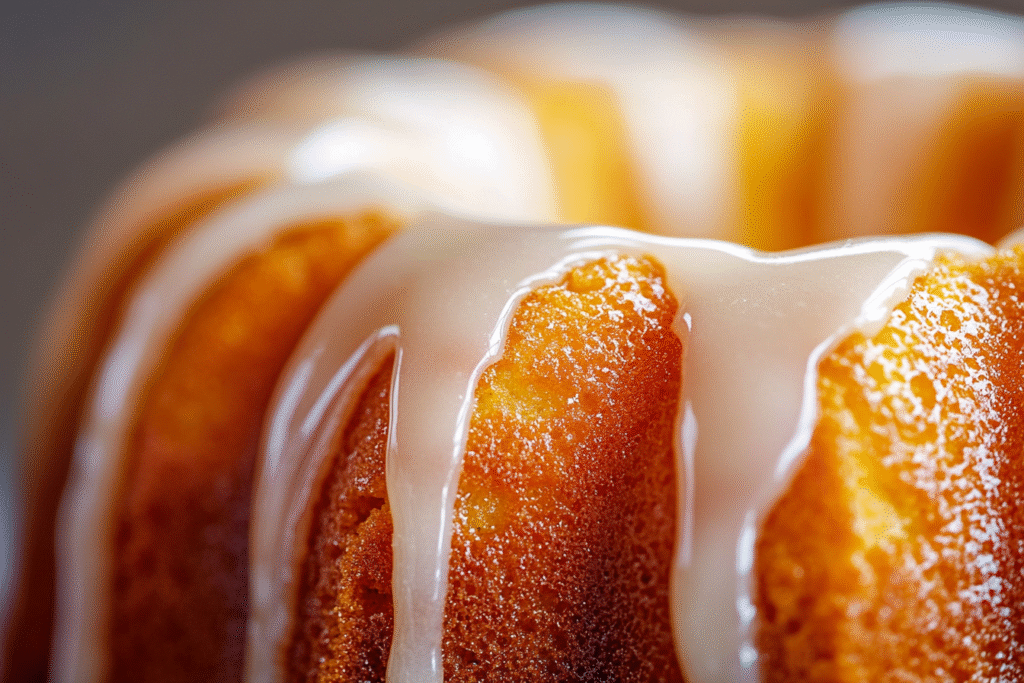
Mini bundt cakes are the dessert world’s answer to having your cake and eating it too—individually sized, beautifully sculpted, and infinitely versatile. These little cakes are as elegant as they are approachable. With their golden edges, soft interiors, and endless decorating options, they’re ideal for everything from afternoon tea to birthdays to edible gifts.
Whether you’re baking them as a bite-sized version of your favorite full-sized bundt, trying new flavor combinations, or just looking for a show-stopping yet easy dessert, this recipe is your go-to guide. We’ll cover the best pans to use, how to avoid sticking, flavor variations, glazes and toppings, plus a foolproof base recipe that turns out rich, moist mini bundt cakes every time.
Why Mini Bundt Cakes Are So Special
Mini bundt cakes combine the charm of cupcakes with the sophistication of traditional bundt cakes. Their intricate shapes give you instant visual appeal without needing elaborate decoration, and because they bake faster than large cakes, they’re perfect for busy bakers.
But the real magic lies in their versatility. With one simple batter, you can create multiple flavor variations, from lemon poppyseed to double chocolate to almond raspberry. Each one becomes its own tiny canvas, whether you top it with a glaze, ganache, powdered sugar, or fresh fruit.
They’re also built-in portion control—each guest gets their own, making them ideal for parties, weddings, baby showers, and holiday gatherings.

Common Mistakes (and How to Avoid Them)
Mini bundt cakes are easy to make once you know a few tricks. Here’s how to steer clear of the most common issues:
- Sticking to the pan: The number one issue! Always use a high-quality nonstick mini bundt pan and grease every crevice thoroughly with butter or baking spray that includes flour.
- Dry texture: Mini cakes can overbake quickly due to their size. Watch them closely during the final few minutes.
- Uneven rise or air pockets: Fill the pans no more than ⅔ full and gently tap them on the counter to eliminate air bubbles.
- Overfilling the pan: Causes overflow and misshapen cakes. Stick to about ⅔ full per cavity.
Choosing the Right Pan
The star of the show is, of course, the mini bundt pan. Here’s what to consider:
- Material: Look for heavy-duty nonstick pans from brands like Nordic Ware. Silicone pans work, but won’t give you the same crisp edges.
- Capacity: Standard mini bundt pans usually have 6 to 12 wells. This recipe makes 12 small or 6 large minis, depending on your pan.
- Design: Choose from classic swirls, hearts, floral motifs, or geometric shapes.
📝 Tip: Avoid pans with extremely intricate designs if you’re new to bundt baking—they’re harder to grease and more prone to sticking.

Key Ingredients and Their Roles
Here’s a breakdown of the base ingredients for the most moist and flavorful mini bundt cakes:
- All-purpose flour: Provides structure.
- Butter: Adds richness and flavor.
- Sugar: Sweetens and helps with browning.
- Eggs: Bind the batter and add structure.
- Sour cream or Greek yogurt: Moisture, tenderness, and tang.
- Vanilla extract: Enhances flavor.
- Baking powder and baking soda: Leavening agents for a fluffy texture.
- Salt: Balances sweetness and enhances flavor.
Optional add-ins: lemon zest, cocoa powder, spices (like cinnamon or cardamom), or extracts (like almond or coconut).
Equipment You’ll Need
You don’t need a full bakery to make these, but a few tools will make your job easier:
- Mini bundt cake pan
- Electric hand mixer or stand mixer
- Mixing bowls
- Sifter or fine mesh sieve
- Rubber spatula
- Cooling rack
- Pastry brush (to grease pan if not using spray)
- Ice cream scoop or piping bag (for evenly filling pans)
Flavor Variations and Customization
Once you’ve nailed the base recipe, the fun begins. Here are just a few ideas to inspire you:
Flavored Batters:
- Lemon: Add 1 tbsp lemon zest + 1 tsp lemon extract
- Chocolate: Substitute ⅓ cup flour with ⅓ cup cocoa powder
- Spiced: Add 1 tsp cinnamon, ½ tsp nutmeg, and ¼ tsp cloves
- Almond Raspberry: Add 1 tsp almond extract and swirl in 1 tsp raspberry jam per cake before baking
Mix-Ins:
- Chocolate chips
- Chopped nuts
- Dried fruit
- Fresh berries (coat lightly in flour to prevent sinking)
Glazes & Toppings:
- Classic vanilla glaze
- Lemon glaze
- Chocolate ganache
- Cream cheese drizzle
- Dusting of powdered sugar
- Toasted coconut or crushed nuts
Ingredients
For the Mini Bundt Cakes (Makes 12 small or 6 large minis):
- 1½ cups all-purpose flour
- 1½ tsp baking powder
- ¼ tsp baking soda
- ¼ tsp salt
- ½ cup unsalted butter (1 stick), softened
- ¾ cup granulated sugar
- 2 large eggs
- 1 tsp vanilla extract
- ½ cup sour cream or full-fat Greek yogurt
- 2 tbsp milk (more if needed to thin batter)
Optional Lemon Glaze:
- 1 cup powdered sugar
- 2–3 tbsp fresh lemon juice
- ½ tsp vanilla extract
Step-by-Step Instructions
Step 1: Preheat and Prep the Pan
Preheat your oven to 350°F (175°C). Thoroughly grease your mini bundt pan with butter and flour, or use a baking spray that contains flour.
Make sure every crevice is coated, especially in intricate designs.
Step 2: Mix the Dry Ingredients
In a medium bowl, whisk together the flour, baking powder, baking soda, and salt. Set aside.
Step 3: Cream the Butter and Sugar
In a large bowl, use a hand or stand mixer to beat the butter and sugar together for 2–3 minutes, until light and fluffy.
Step 4: Add Eggs and Flavoring
Add the eggs one at a time, mixing well after each. Stir in the vanilla extract.
Step 5: Add the Sour Cream and Dry Mix
Mix in the sour cream. Then add the dry ingredients in two batches, alternating with the milk. Mix just until combined—do not overmix.
The batter should be thick but scoopable. If it’s too thick, add an extra tablespoon of milk.
Step 6: Fill the Pans
Spoon or pipe the batter into each mini bundt cavity, filling about ⅔ full. Tap the pan lightly on the counter to remove air bubbles.
📝 Tip: Use a piping bag or zip-top bag with the corner snipped off for neater filling.
Step 7: Bake
Bake for 15–20 minutes (small) or 20–25 minutes (large minis), or until a toothpick inserted comes out clean and the edges are golden.
Let the cakes cool in the pan for 10 minutes, then gently invert onto a wire rack to cool completely.
Step 8: Glaze or Decorate
Once completely cool, drizzle with glaze, dust with powdered sugar, or dip in ganache. Let the glaze set for 10–15 minutes before serving.
Troubleshooting & Tips
- Cakes won’t release: Let them cool for 10 minutes, then gently loosen the edges with a toothpick before turning out. If they still stick, give the pan a firm but gentle tap on the counter.
- Dry texture: Don’t overbake. Check early and often near the end.
- Topping not sticking? Glaze sticks best when cakes are completely cool and not greasy.
Storage and Make-Ahead Tips
To Store: Keep in an airtight container at room temperature for up to 3 days, or refrigerate for up to 5.
To Freeze: Freeze undecorated cakes in a single layer, then transfer to a zip-top bag. Thaw at room temp and glaze before serving.
Make Ahead: Bake the cakes a day ahead and glaze the morning of serving for maximum freshness and flavor.
Mini vs. Full-Size Bundt Cake
- Mini bundt cakes: Faster baking time, portion control, individual servings, and beautiful presentation for gatherings.
- Full-size bundt cake: Slower bake, but easier for large groups or slicing.
This mini bundt cake recipe can be doubled or adapted into a full-sized cake with a longer bake time (45–55 minutes).
Serving Suggestions
Serve your mini bundt cakes:
- With coffee or tea for brunch
- At baby or bridal showers
- Wrapped in cellophane for party favors
- On a dessert platter with fruit and whipped cream
- As a plated dessert with sauce and fresh berries
Mini bundt cakes are the perfect balance of impressive and easy. With endless flavor options and a base recipe that guarantees moisture and structure, they’re the kind of dessert you’ll come back to again and again. Whether you’re dressing them up for a wedding shower or keeping them simple for a weeknight treat, these tiny cakes pack big flavor in every elegant bite.


